HTML and CSS information and project.


HTML and CSS information and project. Plan: 1 Learn the Basics of HTML. 2 Add Content To Your Web Page. 3 Put Together a CSS Stylesheet. HTML (Hypertext Markup Language) defines the structure and contents of a web page – where things go, how they are laid out, and what’s on the page CSS (Cascading Style Sheets) defines the styling/presentation of a web page and the elements on it You can’t really have one without the other – the two work together to make up the final web page, its design, and the content that’s on it. Note; when we say “a web page,” what we mean is a single HTML document – a single page that’s part of your website. Whereas, “a website” is the complete thing – your whole site with all its individual web pages. Table of contents 1. Learn the basics of HTML 2. Understand HTML document structure 3. Get to know CSS selectors 4. Put a CSS stylesheet together 5. Get Bootstrap 6. Pick a design 7. Customize your website with HTML and CSS 8. Add content and images 9. Fine-tune colors and fonts 10. Create additional pages If you think this is too complicated, we recommend either creating a website using WordPress or choosing one of the website builders.
Before You Start, Gather Your Resources: So, the first thing you need even before creating a website with HTML and CSS is a web server (hosting). Don’t worry, though; you don’t have to buy your own machine. Many web hosting companies will sell you a simple hosting service on their machines. Just google for “web hosting” and pick something that isn’t too expensive or check our web hosting reviews . With the server sorted, the next thing you need is a domain name. The domain name is what the website is identified on the web. For example, this site’s domain name is websitesetup.org . When you have both a domain name and a server, you can connect the two together. To have this sorted out with no pain on your end, we recommend signing up with a company like Bluehost. They will handle all the setup for you. Meaning that they will: (a) set up a hosting account for you, (b) register a domain name on your behalf, (c) configure everything to work together, and (d) give you access to an easy-to-use dashboard. Go ahead and sign up with any of the web hosting services , we’ll wait. When you’re back and have your web server configured and ready to go, scroll to the next step. P.S. If you just want to experiment with an HTML website on your computer , and don’t intend to make it public, use a local web server software. The one we recommend and like to use is called XAMPP . It has versions for both Mac and PC, and it’s easy to use. Here’s a guide on how to install it on your computer. 1. Learn the Basics of HTML If you are a new to HTML, you may find this HTML for Beginners (Ultimate Guide) useful. The main element of an HTML structure is an HTML tag .
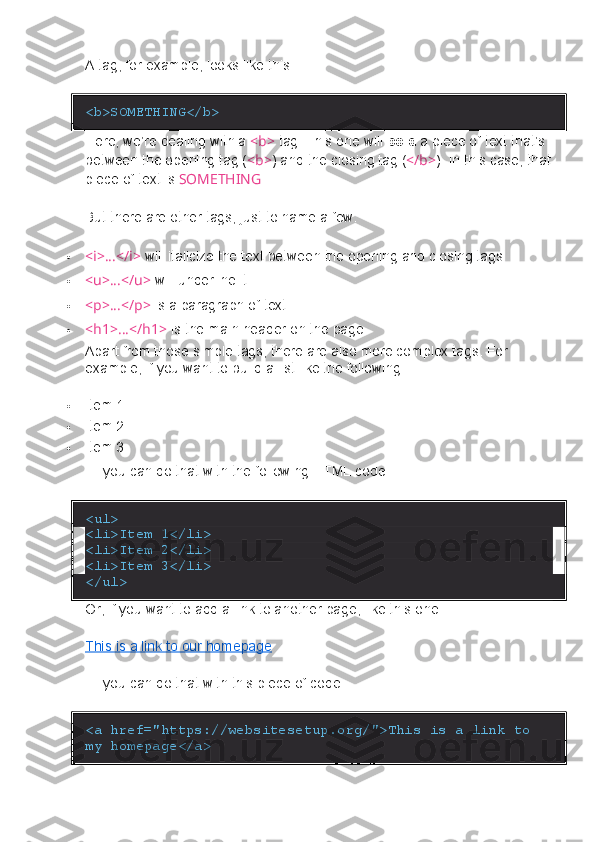
A tag, for example, looks like this: <b>SOMETHING</b> Here, we’re dealing with a <b> tag. This one will bold a piece of text that’s between the opening tag ( <b> ) and the closing tag ( </b> ). In this case, that piece of text is SOMETHING . But there are other tags, just to name a few: <i>...</i> will italicize the text between the opening and closing tags <u>...</u> will underline it <p>...</p> is a paragraph of text <h1>...</h1> is the main header on the page Apart from those simple tags, there are also more complex tags. For example, if you want to build a list like the following: Item 1 Item 2 Item 3 … you can do that with the following HTML code: <ul> <li>Item 1</li> <li>Item 2</li> <li>Item 3</li> </ul> Or, if you want to add a link to another page, like this one: This is a link to our homepage … you can do that with this piece of code: <a href="https://websitesetup.org/">This is a link to my homepage</a>
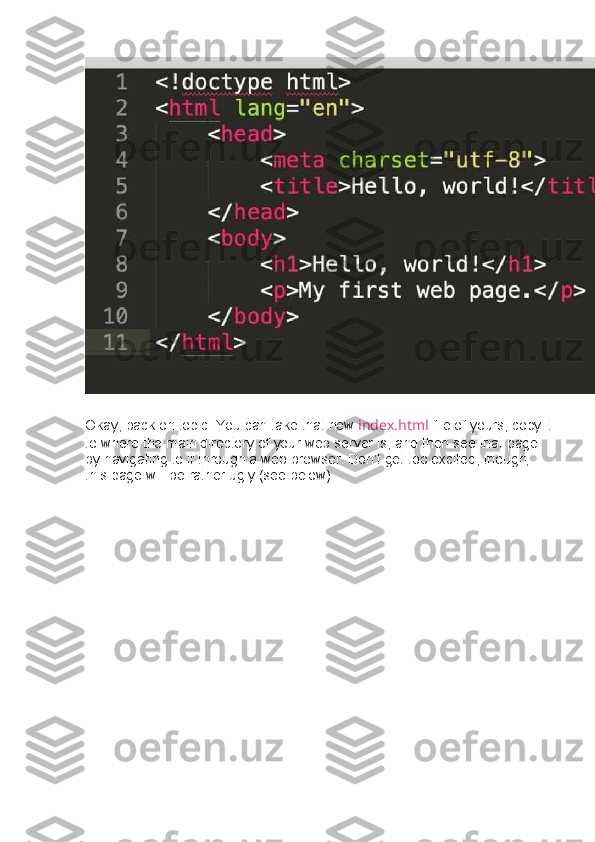
Read this to get the full list of HTML tags . It’ll become useful as you’re creating a website with HTML and CSS. 2. Understand HTML Document Structure Think of your HTML page as if it was built of Legos. You put different bricks on top of one another to end up with a given bigger structure. But instead of Lego bricks, you get HTML tags… Here’s the simplest HTML document structure: <!doctype html> <html lang="en"> <head> <meta charset="utf-8"> <title>Hello, world!</title> </head> <body> <h1>Hello, world!</h1> <p>My first web page.</p> </body> </html> You can take the code above, copy and paste it to a new file, save the document as index.html , and it’s going to be a perfectly valid HTML page. Let’s explain the individual parts of this code: <!doctype html> – the initial declaration of the document <html lang="en"> – another declaration; says that what’s to come next is an HTML document written in English <head> – marks the start of the head section; the head section is where all the basic parameters of the page go; most of those are not going to be shown on the screen; they just define what’s going on under the hood <meta charset="utf-8"> – defines what character set is used to write the document; no need to spend too much time on this; just use this declaration as is
<title>Hello, world!</title> – the title of the page; this is what people will see in the title bar of their browsers, e.g.: <body> – marks the start of the body section; this is where all the content of the page goes; it’s the main part of an HTML document; let us emphasize this, this section is where you’re going to be including all the content that’s meant to appear on the page <h1>Hello, world!</h1> – the main header on the page <p>My first web page.</p> – a simple paragraph of text </html> – the closing tag of the whole HTML document An important note here. Working on an HTML file in a basic text app or a complex text processor like MS Word is not a good experience. To make things easy on yourself, install a HTML editor called Sublime Text . It has versions for both Mac and PC, and it is free. Why is it better? Among other things, it will colorize the syntax of an HTML file. Meaning, it’ll visually distinguish your HTML tags from text content, tag parameters, and other values. Basically, it’ll all become readable. Here’s what our simple HTML structure looks like in Sublime Text: